Caldera - Part 1

For developers today, it’s all too easy to ignore the hardware our code runs on, at least until your servers start melting… This is the story of Caldera, a home-grown environment monitoring solution built on open source software and commodity hardware, coming in at a fraction of the cost of an off the shelf solution.
The push for containerisation, virtualisation, serverless and other abstractions, combined with cheap reliable cloud services make it easy to focus on your code and ignore the metal. I confess, I had been guilty of neglecting our hardware, until something in our server room began making a terrible racket and I walked in to discover the temperature was toasty. Our AC units had failed. Two discrete units, independent from each other had given up the ghost and the temperature was reaching 29c. Environmental monitoring had been a blind spot for us, and our chickens had come home to roost.
I was now in need of something that could alert us if this ever happened again. The market for server room climate monitors is exactly the kind of market I abhor: they are expensive proprietary gadgets, with limited functionality and subscription fees. After a bit of research, I came across Torsten Lindner’s helpful blog post describing how to set up a Raspberry Pi Zero to monitor temperatures and communicate with their software.
What better way to atone for my hardware neglect than to break out the soldering iron?
Components
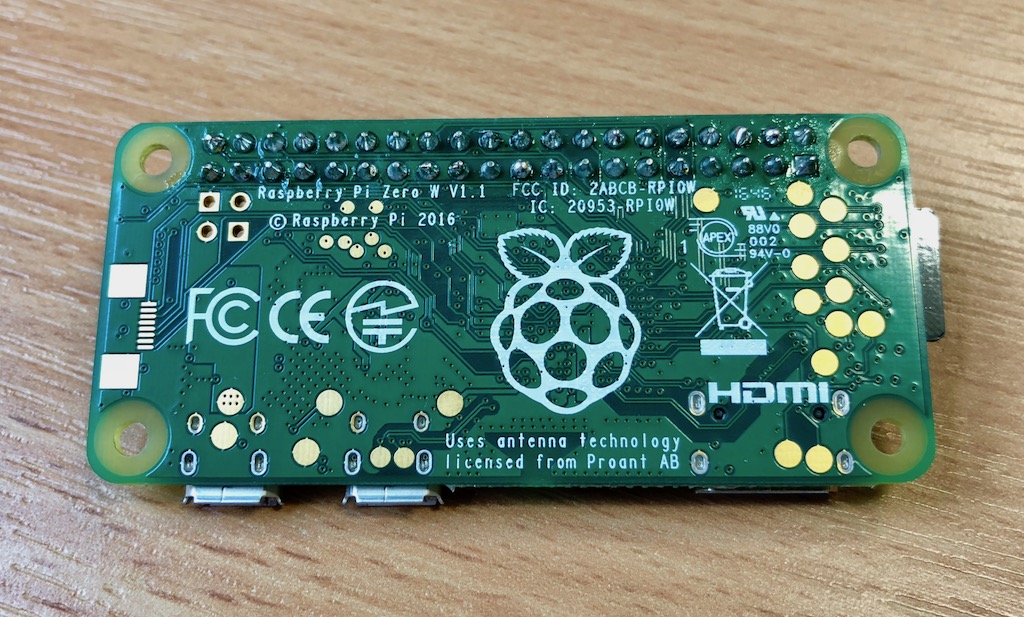
- Raspberry Pi Zero1
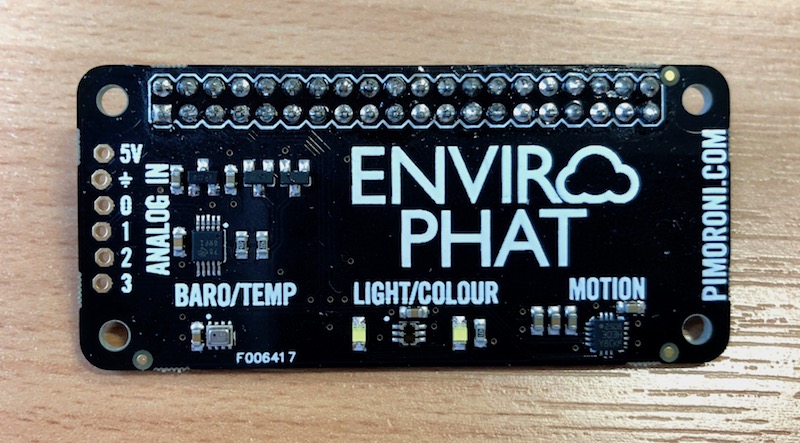
- Enviro pHAT
- MicroSD card with Raspbian installed2
- Header pins
Note that you can purchase bundles that include the Pi, SD card, case, headers, cables and dongles. I’d suggest Pimoroni’s Pi Zero W Starter Kit as that’s what I used.
Tools
- Soldering iron & solder3
- Optional: a vice or third hand makes this a lot easier. I’d recommend the Panavise Junior.
Assembling the hardware
- Solder the male header to the Pi
- Solder the female header to the Enviro pHAT.
There’s a helpful document available here which covers soldering a pHAT. It’s pretty straightforward, just make sure the male connectors on the Pi are pointing up and the female connector on the pHAT is pointing down.
Once you’re done soldering, your components should look like this:
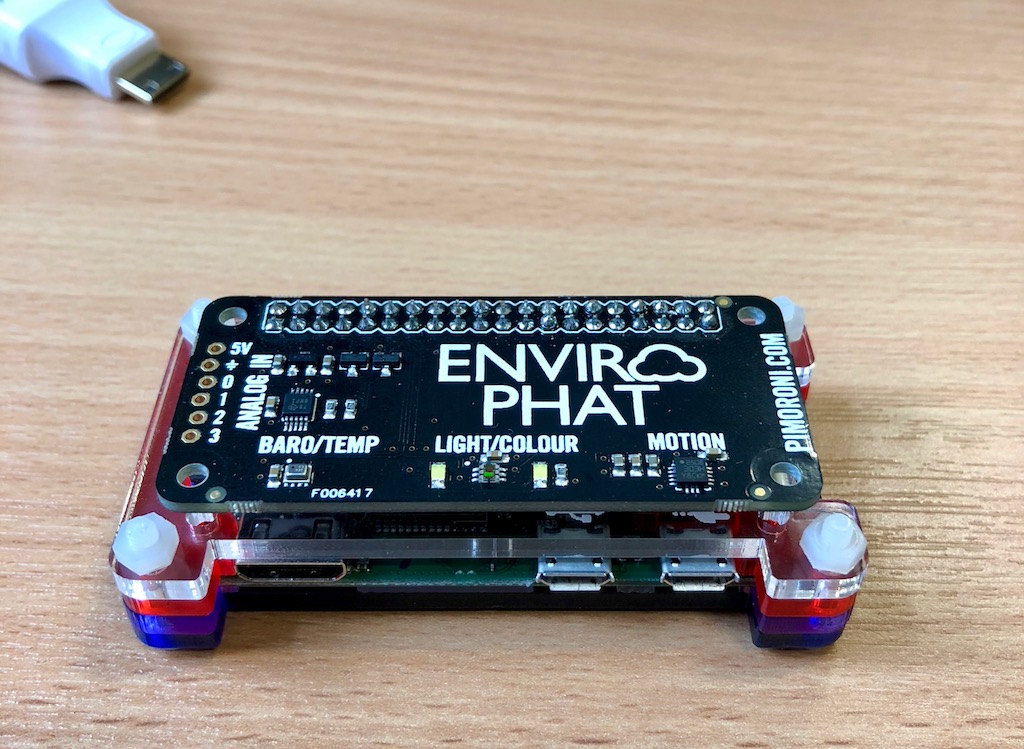
Here’s the finished product in a case:
The software
Boot up your Pi, hook it up to the internet, and install the Enviro pHAT libraries as detailed here. Once the installation is complete, you can use this test script to check your solder job was up to scratch and the library is correctly installed:
from envirophat import weather
import time


while True:
  print(weather.temperature())
  time.sleep(2)
Your output should be temperature readings in degrees Celsius. If you get an error, there must be an issue with your soldering or the Enviro pHAT library installation.
A note on accuracy
You may have noticed from the pictures above that the design of the Enviro pHAT means that the temperature sensor is positioned just above the Pi’s CPU. This does affect accuracy, so if you need perfectly accurate readings, please look elsewhere.
For my purposes, I don’t need exact readings, just relative ones to alert me of substantial increases or drops. I used a multimeter with a temperature probe to get an idea of what the offset was, which in my experience was around 4 degrees Celsius. After compensating, I found that my readings were consistently within one degree of the multimeter’s.
There are some attempts out there4 to read the CPU temp to compensate that way, but I think this is excessive, and in any case I was unable to obtain consistently more accurate results than with the approach detailed above.
So, we now have a fancy thermometer. Let’s design a sensible architecture for our system.
We’re designing a system to alert users if a sensor detects an elevated temperature. If we want to future-proof our system, it would make sense to have the sensors report their readings to a server and have the server evaluate and alert as needed. This way if we want to tweak our thresholds or our contact details, we just need to log in to our webapp to do so. Additionally, we can display an overview of our recorded temperatures to help spot trends.
 Fig. 2: The finished product, displaying sweet delicious data
I decided to use Django for the server application since:
- The Django Rest Framework would allow me to quickly set up a simple REST API to let the sensors report in to the server
- I wanted authentication
- I could re-use existing Python code to send email/SMS/push notifications
The Django project
Caldera’s code is available on Github, go ahead and clone or download it.
First off, we want to create a Python virtual environment5, then pip install our requirements:
- Django (duh)
- django-phonenumber-field - we’ll be sending notifications by SMS, so we’ll want to store mobile numbers in our DB in a consistent format.
- django-solo - useful for storing application settings in our DB. The alternative is a config file or a bunch of clunky models, but I like using the DB.
- djangorestframework - a brilliant Django module which lets you create a REST API to carry out CRUD operations on your models really easily.
- boto3 - Caldera uses AWS Simple Email Service for email notifications since it’s easy to set up and really cheap.6
More to come in part 2.
- I went for the wireless model since our building’s wifi reaches the server room comfortably. Your mileage may vary. [return]
- Preparing the SD card is outside the scope of this article, see here for details. [return]
- There are alternatives to soldering, such as Pimoroni’s Hammer Header, but I found the connection to be too loose when using them. I’d strongly advise soldering. [return]
- http://yaab-arduino.blogspot.com/2016/08/accurate-temperature-reading-sensehat.html [return]
- I’m going to assume the reader is familiar with this, but if not, read this [return]
- And I do mean cheap: if you host on Lightsail/EC2, your first 62,000 monthly emails are on the house. [return]